
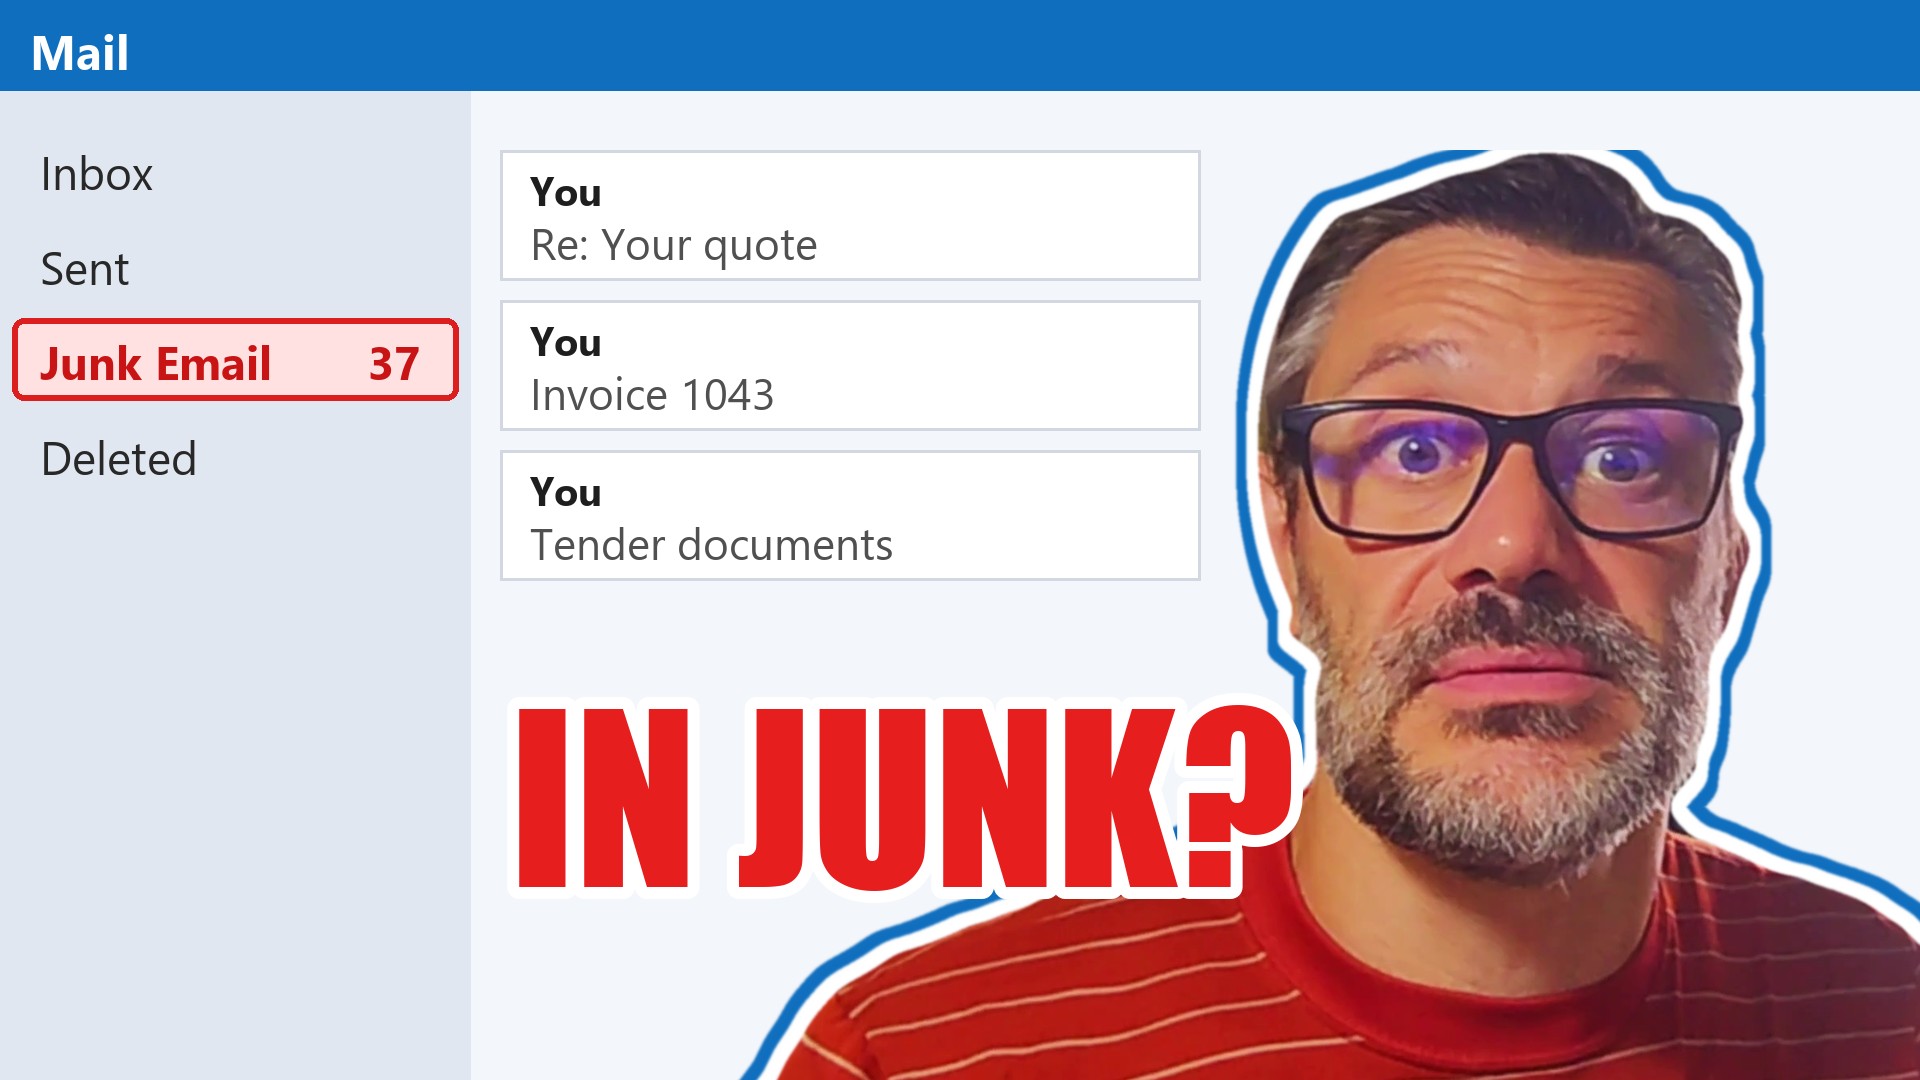
Do you need help & advice with Microsoft 365?
So, you’ve changed your DNS settings (the behind-the-scenes settings for your web address that tell the internet where your email and website live) and now your emails are ending up in the spam folder for Microsoft 365 users? It’s a common headache, and honestly, it can be really frustrating when your messages aren’t getting through. This usually happens because the email system needs to be sure that the emails are actually coming from you and not someone pretending to be you. We’ll look at why this happens and how to fix it, so your emails actually land in the inbox.
Why are my business emails going to junk when they seem to work?
Usually because your email is only sort of configured. It works, but it’s more likely to go to junk. That means you’re throwing away the chance to email people, and if you’re marketing, those emails are going to junk because it’s not set up properly. It’s a really simple thing to fix. Start by running your domain (the part after the @ in your email address) through the free scanner at securemyemails.com, which I built because even big companies have done weird, bizarre things that look like they work.
Which settings decide where my email ends up?
Four settings, called MX, SPF, DKIM and DMARC. Your MX (mail exchanger) records point to where you want your incoming email to go, usually Google or Microsoft nowadays, possibly Mimecast. You only want it going to one place. You used to set several MX records with different priority numbers. A lot of providers don’t need that now, and what you definitely never want is multiple MX records pointing to different servers.
Then the three settings that prove your email is really from you. SPF (Sender Policy Framework) means: if the email didn’t come from my servers, it’s probably not from me. DKIM (a hidden digital signature your email system adds to every message) means: if it’s not signed by me, it’s probably not from me. DMARC builds on those two and says what to do with email that fails: put it in junk, or throw it away. It can also report back on where your email ends up.
What do people get wrong in their SPF record?
They list everything. The SPF record should list only the servers that are allowed to send email for you, for example your website and Microsoft 365. There’s a limit to how many you can add, on purpose, because you don’t want loads of places able to send as you. I see people add their mail server (which makes no sense most of the time), their A records (the setting that points at their website), their MX records, random services, and typing mistakes. Check that the SPF record you set is valid.
DKIM keys come from each provider you send email from, and they go into your DNS settings too, wherever your DNS is: Cloudflare, 123 Reg, GoDaddy or whoever.
Why did changing my DNS make no difference?
Because you probably changed it in the wrong place. You can have every part of your domain with a different provider, which gets very confusing. Your NS (name server) records tell the internet where to look for all your other records. I’ve seen several times where someone’s domain is registered with one provider but the name servers point to another, so they change the records at the first one, nothing happens, and they can’t understand why. Some providers also take forever to update.
My recommendation: buy the domain from one provider and host its DNS there too. We use Cloudflare. Changes are pretty much instant, there are security add-ons and it’s free. Just make sure nobody points the name servers somewhere else. I’ve seen rogue web designers take over a customer’s domain, change the name servers, lose all the email configuration, and then the email stops working. Guess who gets blamed. Keep an eye on your name servers and keep a log of every change.
How should we switch on DMARC without blocking our own email?
In three steps, with reporting turned on. DMARC has three policies: none (which basically does nothing), quarantine (send it to junk) and reject (block it). Reject is the setting you really want, but turn on reporting first, so you can see where your email comes from and spot it if, for example, you’ve accidentally blocked your website from sending.
- Set it to p=none (watch and report only) and check everything works.
- Change it to quarantine and make sure that’s working.
- A couple of weeks later, change it to reject.
It’s not that complicated. It just seems very complicated, and there are loads of ways to make it complicated that don’t help (subdomains, extra names like dave.goodchoiceit.co.uk, can have their own rules and even their own mail services). Get those key records right first. More detail on the last step is in DMARC quarantine vs reject. If you need help, start with the scanner, get in touch and we’ll go through it together, or we can just fix it for you.
How Email Proves It Really Came From You
So, you’ve changed your DNS records and now your emails are playing hide-and-seek in the spam folder. It’s a common headache, and it usually boils down to how email systems verify that the sender is who they say they are. Think of it like a digital handshake; if the handshake isn’t right, the recipient’s server gets suspicious.
The Role of SPF, DKIM, and DMARC
These three settings, SPF, DKIM and DMARC, are how email authentication works: proving an email really came from you. They’re essentially checks that prove your domain is allowed to send emails and that the emails haven’t been tampered with along the way. Without them, or if they’re set up incorrectly, Microsoft 365’s filters will likely flag your messages as potentially dodgy.
- SPF (Sender Policy Framework): This tells receiving servers which mail servers are authorised to send email on behalf of your domain. It’s like a list of approved senders for your domain.
- DKIM (DomainKeys Identified Mail): This adds a digital signature to your emails. It’s a way to verify that the email content hasn’t been altered since it was sent, and it’s linked to your domain.
- DMARC (Domain-based Message Authentication, Reporting & Conformance): This builds on SPF and DKIM. It tells receiving servers what to do if an email fails SPF or DKIM checks (like reject it or send it to spam) and provides reports on these failures.
Getting these right is pretty important for making sure your emails actually reach the inbox. You can check your current setup using tools that analyse your domain’s authentication records.
Factors Influencing Microsoft 365 Filtering
Microsoft 365’s email filtering is quite sophisticated. It doesn’t just look at SPF, DKIM, and DMARC, though. A whole bunch of things can influence whether your email lands in the inbox or the spam folder:
- Sending IP Reputation: If the IP address (the internet address of the system that sends your email) your emails are coming from has a bad history (e.g., it’s been used to send spam before), your emails are more likely to be flagged. New IP addresses can also have a tougher time initially until they build a good reputation.
- Domain Reputation: Similar to IP reputation, your domain’s history matters. A domain associated with spam or malicious activity will face stricter filtering.
- Complaint Rates: If too many recipients mark your emails as spam, this significantly damages your sender reputation.
- Content: Certain words, phrases, or formatting in your email can trigger spam filters. Overly promotional language or suspicious links are common culprits.
- List Accuracy: Sending to invalid or old email addresses can also negatively impact your deliverability.
It’s a bit like trying to get into a club with a strict bouncer; you need to have your credentials in order and a good track record.
Keeping your email out of junk needs regular attention, not a one-off fix. Regularly monitoring your sender reputation and authentication records is key to maintaining a healthy email sending profile.
Impact of Sending IP and Domain Reputation
Your sending IP and domain reputation are arguably two of the most significant factors Microsoft 365 considers. If your IP address has never sent email before, it won’t have a reputation in Microsoft’s systems, which can lead to initial delivery problems. As it starts sending emails and maintains a good record, its reputation will improve, leading to better delivery. Similarly, a domain with a history of sending legitimate emails will generally have a better starting point than a new domain or one previously associated with spam. Maintaining a positive reputation for both your sending IP and your domain is paramount for consistent email deliverability. If you’re using a new IP range, it might take a couple of weeks to build up enough positive sending history for Microsoft 365 to trust it fully, depending on your sending volume and complaint rates. You can find more information on how to avoid email authentication failures when sending mail to Microsoft 365.
Correcting DNS Records for Microsoft 365
Right then, if your emails are suddenly playing hide-and-seek in Microsoft 365 inboxes, the first place to look is your domain’s DNS records. These records are like your email’s passport, proving to the world that your messages are legitimate. Without the right ones, or if they’ve been messed up by a recent change, Microsoft’s servers get confused and might just send your emails straight to the spam folder.
Configuring Your SPF Record
SPF, or Sender Policy Framework, is a TXT record (a line of text you add to your domain’s settings) that lists the mail servers authorised to send email on behalf of your domain. It’s pretty straightforward to set up. You’ll need to log into your domain registrar’s control panel (the company you bought your domain name from) and add or modify a TXT record.
- Host/Name: Usually, this is
@or left blank, depending on your registrar. This signifies your main domain. - Value: This is where you tell the world who can send mail. For Microsoft 365, it typically looks like
v=spf1 include:spf.protection.outlook.com ~all. The~allpart is a ‘soft fail’, meaning if the sending server isn’t listed, the email might still be delivered but flagged. - TTL (Time To Live, how long other systems remember the setting before checking again): You can usually leave this at the default setting.
It’s really important that you only have one SPF record per domain. If you’re migrating or have multiple services sending email for your domain, you need to combine them into a single record.
Remember that DNS changes can take a while to spread across the internet, sometimes up to 48 hours, so be patient after making updates.
Implementing DKIM Signatures
DKIM, or DomainKeys Identified Mail, adds a digital signature to your emails. This signature is verified by the receiving server using a public key (the matching half that lets anyone check the signature) found in your DNS records. It helps confirm that the email hasn’t been tampered with in transit.
To set this up for Microsoft 365:
- Go to the Microsoft 365 Defender portal (Microsoft’s security admin website).
- Navigate to Email & collaboration > Policies & rules > Threat policies > Email authentication settings.
- Select the DKIM tab.
- Choose your custom domain and enable DKIM signing.
- Microsoft will then provide you with specific CNAME records (settings that point one name at another). You’ll need to create these at your domain registrar.
- Typically, you’ll create two CNAME records, each with a specific hostname (like
selector1._domainkey) and a value pointing to Microsoft’s DKIM service.
- Typically, you’ll create two CNAME records, each with a specific hostname (like
Once these CNAME records are in place and recognised by Microsoft, DKIM signing will be active for your domain. This adds another strong layer of authentication.
Setting Up DMARC Policies
DMARC, or Domain-based Message Authentication, Reporting, and Conformance, builds on SPF and DKIM. It tells receiving servers what to do if an email fails SPF or DKIM checks and provides reports back to you.
Setting up DMARC involves creating another TXT record in your DNS.
- Host/Name:
_dmarc - Value: This is a bit more complex and depends on your policy. A basic starting point might be
v=DMARC1; p=none; rua=mailto:[email protected], where the rua part is the address the reports get sent to. Thep=nonepolicy means no action is taken on failing emails, but you’ll receive reports. You can later change this toquarantineorrejectas you gain confidence.
It’s a good idea to start with p=none to monitor how your emails are being authenticated before enforcing stricter policies. This helps avoid accidentally blocking legitimate emails.
Troubleshooting Common Email Delivery Issues
So, your emails aren’t quite landing where you want them to, eh? It happens. Sometimes, despite your best efforts, messages end up in the junk folder or, worse, get outright rejected. Let’s figure out why.
Resolving NDRs and Rejection Errors
Getting a Non-Delivery Report (NDR) can be a bit of a pain. These bounce messages often contain codes that tell you exactly why your email didn’t make it. A common one is when Microsoft 365 blocks your sending IP address. You might see a message like 550 5.7.606-649 Access denied, banned sending IP. If this happens, you’ll usually need to visit a specific delisting portal (a page where you ask to be taken off the block list), like the one at sender.office.com, and follow their instructions to get your IP unblocked. It’s a bit of a process, but usually effective.
Addressing IP Address Blocking
Sometimes, your IP address might get temporarily restricted because suspicious activity was detected. You might get an NDR with a message like 451 4.7.550 Access denied, please try again later. This isn’t necessarily a permanent ban. Microsoft 365 is essentially putting your traffic on hold while they evaluate it. Once they’re satisfied that everything is okay, the restriction is lifted. It’s a good idea to check your sending patterns to ensure there’s nothing unusual happening that might trigger these flags.
Investigating Suspicious Activity Flags
When emails are flagged for suspicious activity, it can be tricky. This often happens if your sending patterns suddenly change or if there’s a spike in complaints about your emails. Microsoft 365 uses these flags to protect its users from spam and phishing (fake emails trying to trick people into clicking or paying).
Here are a few things to look into:
- Check your sending reputation: Are you sending a lot of emails to invalid addresses? Are people marking your emails as spam? High complaint rates are a big red flag.
- Review your email content: Overly promotional language, excessive links, or large images can sometimes trigger filters.
- Verify your DNS records: Incorrect SPF, DKIM, or DMARC records can cause delivery problems. Make sure they’re set up correctly with whoever looks after your DNS settings.
If you’re sending bulk emails, it’s really important to keep your contact lists clean. Unsubscribes and bounced emails should be handled promptly. Sending to a list full of old or invalid addresses is a sure way to damage your sender reputation and end up in the spam folder.
If you’re consistently having trouble, especially with a specific recipient’s domain, it might be worth asking them to check their own Outlook settings or spam filters. Sometimes, they might have inadvertently marked your emails as spam or added you to a block list. Getting them to whitelist you (add you to their safe senders list) can be a quick fix for individual issues.
Best Practices for Sending to Microsoft 365
So, you’ve sorted out your DNS records, which is a massive step. But getting emails into the inbox, especially with Microsoft 365, is a bit more than just having the right SPF and DKIM set up. It’s about being a good email citizen, really.
Maintaining Domain and IP Reputation
Think of your domain and IP address like your email’s passport. If it’s got a good history, it’s more likely to be trusted. New IP addresses, especially, don’t have any history, so they can be a bit suspect at first. Microsoft 365 will watch them closely. If you’re sending from a new IP, it might take a couple of weeks to build up a good reputation, assuming you’re not sending junk. Sending from IPs that have never sent email before means they don’t have any reputation in Microsoft’s systems. As a result, email from new sources are more likely to experience delivery issues. Once the IP address has built a reputation for not sending spam, Microsoft 365 typically allows for a better email delivery experience. If your domain already has a good sending reputation, new IPs might get a faster start.
Optimising Email Content for Filters
What you put in your email matters. A lot. Spam filters are pretty smart these days, and they look at more than just keywords. Subject lines are a big one. Avoid shouting with all caps, too many exclamation marks, or phrases like "Get Rich Quick" or "100% Free". Keep it clear and honest. For example, "Your Weekly Newsletter" is much better than "FREE STUFF INSIDE!!! DON’T MISS OUT!!!".
Your email body needs attention too. Try not to go overboard with promotional language like "Buy Now!" or "Limited Time Offer!". The balance between text and images is also important. A good rule of thumb is to aim for around a 60:40 text-to-image ratio. Too many images, and it can look a bit suspicious. Similarly, keep the number of links sensible – maybe one link for every 100 words of text. If you’re using images, make sure they have alt text (a short description shown if the picture doesn’t load), just in case they don’t display.
Always test your emails before sending them out to your entire list. Set up a few test accounts with major email providers like Outlook, Gmail, and Yahoo, and see where your email lands. If it goes to spam, tweak your subject line and content and test again. It’s a bit of a chore, but it saves a lot of headaches later.
Managing Bulk Email Campaigns
When you’re sending out emails to a large group, it’s really important to make it easy for people to opt-out. A clear, one-click unsubscribe link in every email is a must. It sounds obvious, but it genuinely helps reduce spam complaints. If people can’t easily unsubscribe, they’re more likely to mark your email as spam, which is terrible for your reputation. Segmenting your lists (splitting them into groups) also helps; sending relevant content to the right people means they’re more likely to engage and less likely to complain. Regularly cleaning your list, removing old or invalid email addresses, is also key. You might even consider using an email verification service to catch bad addresses before you send. If printers, scanners or apps send email straight into your own Microsoft 365 mailboxes (Exchange Online), Microsoft’s guidance is on Direct Send.
Here are a few things to keep in mind for bulk sends:
- Easy Unsubscribe: Make sure the unsubscribe link is prominent and works with a single click.
- List Hygiene: Regularly remove inactive subscribers and invalid email addresses.
- Content Relevance: Send targeted content that your subscribers actually want to receive.
- Expectation Setting: Clearly tell people what kind of emails they’ll get and how often.
Using Microsoft 365’s Own Tools to Get Into the Inbox
So, you’ve sorted out your DNS records, but your emails are still playing hide-and-seek in the spam folder. Microsoft 365 actually gives you a few built-in ways to get a handle on this. Don’t set things up once and forget about them. Keep an eye on things.
Utilising the Defender Portal for Email Authentication
Microsoft Defender for Office 365 is pretty handy here. It’s where you can get a good look at how your emails are being authenticated. Think of it as your central hub for checking if your SPF, DKIM, and DMARC records are actually doing their job. You can see reports that show whether emails from your domain are passing these checks or failing them. Paying attention to these reports is key to spotting authentication issues early. It’s not always obvious when something’s gone wrong with your DNS, but Defender can often flag it up.
Creating Allow Entries in Tenant Policies
Sometimes, even with everything set up correctly, a specific sender or a particular type of email might still get caught by the filters. In these cases, you can create what are called ‘allow entries’ or ‘safe sender lists’ within your Microsoft 365 tenant policies (the settings for your company’s Microsoft 365). This tells the system, ‘Hey, I trust this sender or this type of message, so let it through.’ You can add specific email addresses, domains, or even IP addresses to these lists. It’s a bit like putting a trusted friend on your personal ‘do not disturb’ list – you want their calls to come straight through.
Reporting False Positives to Microsoft
When your legitimate emails end up in the spam folder, it’s a false positive. Microsoft 365 has a system for you to report these. By reporting a false positive, you’re essentially telling Microsoft’s systems that they made a mistake. This feedback helps their algorithms learn and improve over time. It’s a way to actively contribute to making the filters smarter for everyone. You can usually do this directly from the email itself within Outlook or through the Defender portal. It’s a small step, but it can make a difference in the long run for your domain’s reputation.
It’s easy to get bogged down in the technical details of DNS and authentication. But remember, the goal is simple: get your emails to the inbox. Microsoft 365 provides tools to help you monitor and manage this process. Using the Defender portal to check authentication, creating specific exceptions when needed, and providing feedback on misclassified emails are all practical steps you can take to improve your email delivery.
Diagnosing and Resolving Spam Folder Placement
So, your emails are ending up in the spam folder, huh? It’s a common headache, and honestly, it can feel like shouting into the void sometimes. When this happens after a DNS change, it’s usually a sign that something’s a bit off with how your domain is being authenticated. Microsoft 365, like most email providers, has pretty sophisticated filters that look at a whole bunch of things before deciding where your message lands.
Checking Current Domain Authentication Records
First things first, let’s have a look at what your domain is actually telling the world about your emails. This is all about SPF, DKIM, and DMARC. If these aren’t set up correctly, or if they’ve been messed with during a DNS change, it’s a big red flag for email servers. You can use tools to check this. It’s like checking your car’s paperwork before a long trip – you want to know everything’s in order.
- SPF (Sender Policy Framework): This record tells servers which IP addresses are allowed to send email from your domain. If your new DNS records don’t include the correct SPF information for Microsoft 365, your emails might be seen as unverified.
- DKIM (DomainKeys Identified Mail): This adds a digital signature to your emails, proving they haven’t been tampered with in transit and that they genuinely came from your domain. Missing or incorrect DKIM setup can cause delivery problems.
- DMARC (Domain-based Message Authentication, Reporting & Conformance): This policy tells receiving servers what to do if an email fails SPF or DKIM checks. A poorly configured DMARC policy, or none at all, can lead to emails being treated with suspicion.
It’s really important to get these authentication records right. They’re the digital handshake that tells other email systems, ‘Yes, this email is legitimate and comes from where it says it does.’ Without that, you’re basically sending messages with no proper identification.
Analysing Email Deliverability Reports
Once you’ve checked your records, the next step is to see what the data tells you. Many services offer reports that can give you insights into how your emails are being received. Look for things like bounce rates, spam complaint rates, and which specific emails are being flagged. This can help pinpoint if the issue is widespread or affecting only certain recipients or types of messages. Understanding these reports is key to figuring out the root cause.
Implementing Inbox Rules for Specific Senders
Sometimes, the issue isn’t with your sending but with the recipient’s settings. If you’re sending to a specific organisation or even an individual, and your emails are consistently going to their spam folder, they might have an inbox rule set up that’s misdirecting your messages. It’s worth asking the recipient to check their Outlook rules or junk mail settings. They might have accidentally marked your emails as spam in the past, or a rule might be in place that’s too aggressive. Getting them to whitelist your email address or domain is often a quick fix for individual cases. If you want us to check it for you, see our email security service.
Is your email ending up in the spam folder? It’s a common problem that can stop your messages from reaching their destination. We can help you figure out why this happens and how to fix it. Don’t let your important emails get lost in the junk folder. Visit our website to learn more about keeping your emails out of the spam bin.
Wrapping Up
So, if your emails have been taking a detour into the spam folder after a DNS change, don’t panic. We’ve gone through the main culprits, from making sure your SPF, DKIM, and DMARC records are spot on, to keeping an eye on your domain’s reputation. It’s a bit like looking after a garden; you need to tend to it regularly. Keep checking those records, watch your sending practices, and if you’re sending out a lot of emails, pay attention to how they’re received. Getting emails to the inbox isn’t a one-off fix, but by staying on top of these details, you’ll see a big difference in making sure your messages actually get read.
More videos on this
Frequently Asked Questions
How long will it take to see my emails arriving in the inbox again?
It can vary. Some fixes, like setting up your SPF and DKIM correctly, might work quite quickly. However, if your domain’s reputation has been damaged, it might take several weeks or even a few months to see a big improvement. It’s a bit like rebuilding trust – it takes time and consistent good behaviour.
Can using a special email service help stop my emails going to spam?
Yes, using a well-known email marketing service can definitely help. These services often have good systems in place to make sure emails get delivered. But remember, you still need to make sure your own emails are well-written and that you’re managing your contact lists properly.
What if my domain's reputation is already bad?
If your domain has a poor reputation, focus on cleaning up your contact lists and making sure people actually want to receive your emails. Try to get more people to open and reply to your messages. If the problem continues, you might need to look into services that specialise in fixing domain reputations.
How often should I check if my email settings are correct and if emails are being delivered well?
It’s a good idea to check your email authentication settings and how well your emails are being delivered at least once a week. If you’re actively trying to fix delivery problems, checking more often, perhaps daily, would be even better.
Can my emails still end up in the spam folder even if I've done everything right?
Unfortunately, yes, it’s still possible. Email systems are complex, and sometimes even with perfect settings, a message might be flagged. This could be due to the specific words used in your email, or if the recipient’s own email system has very strict rules. Reporting these as ‘not spam’ can help over time.
What are SPF, DKIM, and DMARC?
Think of these as digital signatures and permission slips for your emails. SPF tells email servers which mail servers are allowed to send emails for your domain. DKIM adds a digital signature to prove the email hasn’t been changed. DMARC tells servers what to do if an email fails these checks. They all work together to prove your emails are genuine and help stop them from being marked as spam.
Frequently asked questions
Why do my emails go to junk even though they send fine?
Should we set DMARC straight to reject?
No. Start at p=none with reporting, move to quarantine when everything checks out, and go to reject a couple of weeks later. That way you see what would be blocked before anything is.